Exploring States of Matter: 4 Must-Try Activities for Kids
Aug. 14, 2019
School is starting up once again, and as a parent, you might be wondering how to get your kids back into a more structured learning routine. While kids are learning new routines at school, take this opportunity to explore exciting science projects at home to set the right tone for the academic year. With children always on the search for something fun to do after school, jumping into some science fun is the perfect way activate growing minds. One endlessly fascinating topic to explore is the three states of matter.
Younger kids should learn about the basic three types of matter, while older students should study how matter can change, and the conditions under which those changes occur. Using common household supplies and materials, experiments can be set up in no time, with cleanup oftentimes meaning eating or drinking the end result!
Below, we’ll discuss what children need to learn about this intriguing topic before getting started; keep reading to find four fantastic ideas for at-home experiments that can easily be adapted for the classroom!
Examples of States of Matter for Kids
How can one even describe the term matter? Simply put, matter is any substance that takes up space and has mass. Look around you and think about how everything you see (and even things you can’t- like air) is made up of some form of matter! Not everything is made up of matter, like types of energy. This includes sound and light. But it can be used to generate energy, which is important for fueling our modern world.
Kids learn a variety of early physical science facts starting from preschool, but most kids start studying the states of matter by kindergarten or 1st grade. Chances are, if you have a child around ages 6-7, he or she has already learned about it, but might not have done much experimenting in school. The first thing little learners should master is the three basic types: solids, liquids, and gasses.
It’s easy to review the three types of matter with young kids because there are so many examples that are easily accessible in your very own home! The following are household examples of matter to point out to your early learners:
- Water
- Air
- Ice Cream
- A bug
- A bed
- Anything that emits a odor- and the smell itself!
- Paper
- Pencil
- Play Dough
- Slime
- Popsicles
- Ice Cubes
Help your child notice that some of substances on the list could change from one type of matter to another. For example, when ice cubes are frozen, they are solids, but can easily melt into liquids if left outside of the freezer. Likewise, if that ice cube is in a cup that stands on the counter for a number of days or weeks, your child will notice that the water evaporates because it turned into a gas that entered the air!
Stir up your child's interest in new learning routines with exciting science acitvities - interactive science worksheets, teacher-led videos and immersive games - available in Kids Academy Summer Camp! Subscribe today to secure a sizzling deal for a new school year.
Chemistry for Older Elementary Students
Older children are better able to understand more about concepts that involve a change of state of matter. It’s easy to see ice cubes melt into water, but it takes much more patience to wait for it to evaporate to observe the change. It’s also simple enough to heat a pan of boiling water to see the steam rise from the pot, but older kids should know that matter can change under a variety of conditions depending on the substance involved.
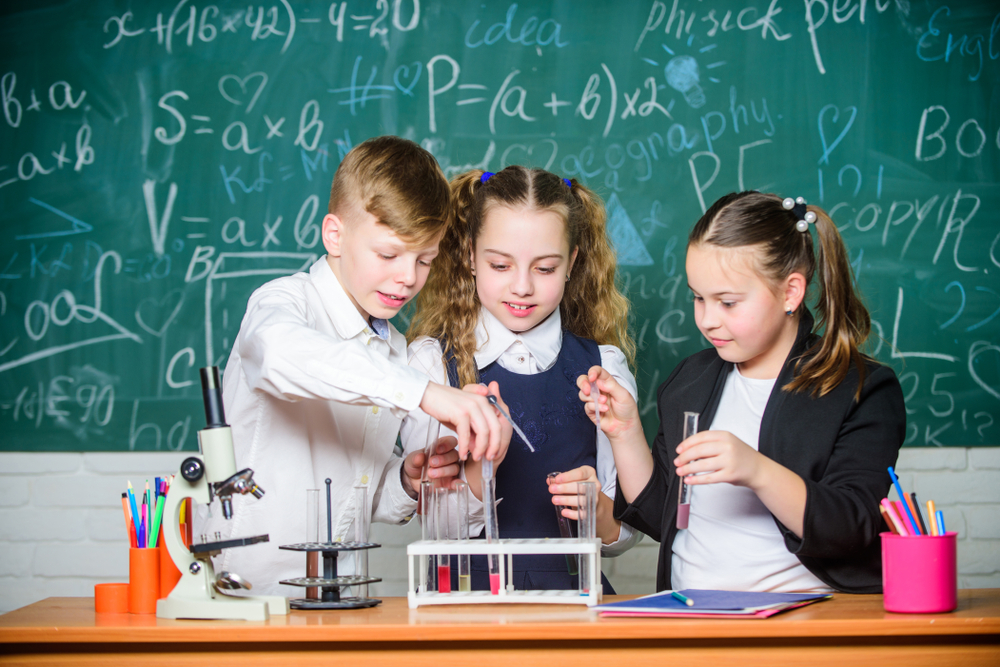
Some concepts to explore with your older child include the following:
- Condensation
- Plasma- another type of matter
- Sublimation
- Vaporization
- Boiling Points
- Deposition or Desublimation
A perfect complement to your student-centered classroom, the Talented and Gifted app reinforces projects and concepts as kids work at their own pace. Download today and try it free for 30 days!
States of Matter Activities
Regardless if you have a beginner or older child at home, the activities below won’t disappoint! Easily adaptable to the classroom, the following experiments are great for exploring the different states of matter and how they change for a summer filled with science fun!
Chocolate Chip Experiment
This simple experiment is great for a hot sunny day and easily demonstrates how a solid can be converted to a liquid, and then back to a solid using a bit of energy.
Supplies Needed:
- 1 quart-sized Ziploc bag per child or group of kids
- ½ cup of chocolate chips for each bag
- A heat source
What to Do:
Help kids take the chocolate chips and add them to the bag. Be sure to zip the bag securely and ask your child to brainstorm of ways to make the chocolate melt. Explain that heat will make the chips melt into its liquid form, but a source of heat is needed to make this happen.
One popular solution is to pop that bag into the microwave, and while this can be done, it could easily make the chips burn. Using a stovetop would require the child to remove the chips from the bag, and if this is done in a classroom, a kitchen is most likely inaccessible. Instead, guide children to think of natural heat sources and it won’t be long before kids realize that the sun generates a lot of warmth!
Head outside on a sunny day and place the bag of chocolate chips in the sun, laying it on pavement for the best exposure to heat. Go back inside and set a time, and check it again in about 5 minutes, noting any observations. Keep checking every 5 minutes until the bag of chips are melted into liquid and record further notes and talk about what happened as the chips melted and why.
Bring the bag of liquid chocolate back inside. Put the bag in the fridge, or in a cool location nearby. What does your child think will happen over time to the chocolate? Write down any predictions and wait for the chocolate to reform into a solid mass! After the experiment is over, record final observations, discuss, and eat!
Make a Self-Inflated Balloon
Blowing up a balloon can be hard work! Let a chemical reaction do it for you using this cool project that produces a gas to blow up your balloon!
Supplies Needed:
- 1 balloon
- Vinegar
- Baking Soda
- Funnel
- Tablespoon
- Empty plastic water bottle
What to Do:
To start, pour 2 tablespoons of baking soda into the balloon carefully using the funnel. Next, pour 1 cup of vinegar into the empty plastic bottle. Attach the lip of the balloon to the top of the bottle, leaving the bulk of the balloon along with the baking soda hanging down.
When ready, pick up the balloon so that the baking soda falls into the bottle of vinegar and watch as the balloon fills up with the gas created from the reaction! Talk to your children about what caused the balloon to fill, and feel free to do it again! In short, when the vinegar mixes with baking soda, it creates a carbon dioxide gas, which fills the balloon because it has nowhere else to go. Discuss this reaction before trying it again. When repeating the experiment, be sure to have fresh supplies on hand, as the balloon will need fresh vinegar to produce the same reaction.
Make Art Sculptures or Pictures from Slime
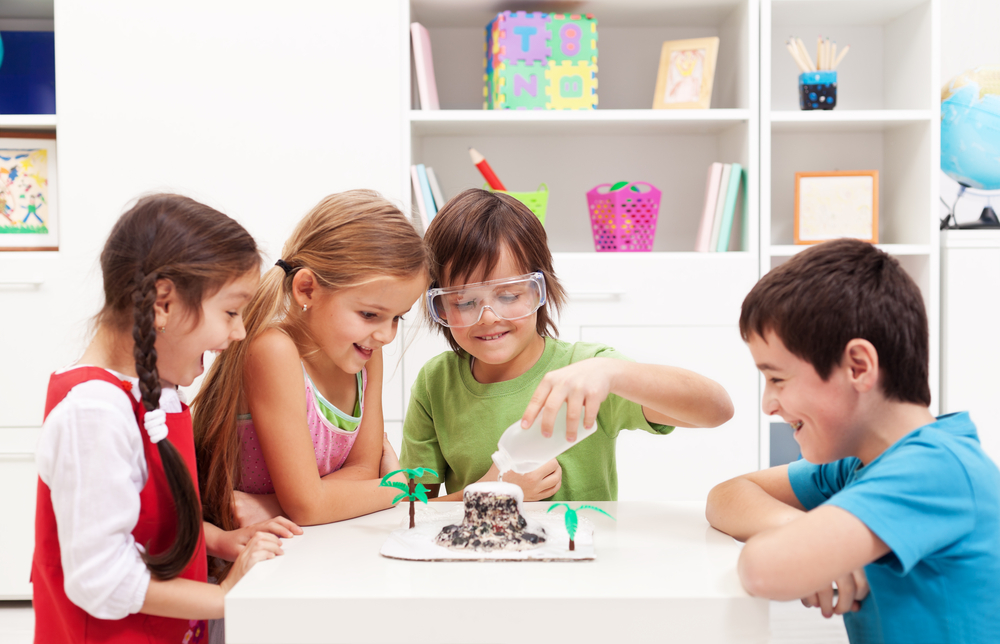
If your kids are like most, they love to make and play with slime! Transform old slime into a work of art with this experiment that changes a liquid to a solid!
Supplies Needed:
- Slime- use one or more colors of slime
- Non-porous surface space, like a glass table or granite countertop
What to Do:
For this easy experiment, take the slime and spread it onto the surface space in a thin layer. If you use multiple colors, press them together as they will blend later on in the process. Next, be patient! Depending on the humidity level in your home, it might take as long as 2-4 days to dry out. Use a fan to speed up the process and to make slight waves in the artwork. The objective is to dry out the slime so that the water contents evaporate and make the liquid slime into a solid piece.
When slime starts to dry around the edges, carefully pull the sides up to increase airflow to the rest of the slime. When fully dry, the dried-out product can look like plastic or glass structures! Experiment with making pictures using the slime to create unique decorations!
Make a Refreshing Root Beer Float
Experiment with creating a gaseous foam from root beer and ice cream in this simple, yet tasty experiment!
Supplies Needed:
- Root beer
- Vanilla Ice Cream
- Spoon
- Clear plastic cup
- Observation sheet or log
What to Do:
First, pour about a cup of root beer into the clear plastic cup. Using a spoon or an ice cream scoop, drop a dollop of vanilla ice cream into the soda. Next, watch the reaction! Help your little learner write down any observations onto a printable observation worksheet or a log that you are using as notes. What are the bubbles that form near the top of the cup? Your child will notice that the bubbles are filled with gas.
Explain to kids that the root beer is a liquid, while the ice cream is a solid. When adding the ice cream to the soda, it makes the carbonation inside the liquid fizz to create a gas. After talking about the science behind the reaction, start eating this refreshing summer treat!
If you’re out of ideas for making the last days of summer worthwhile for your children, look no further than the above experiments! Exploring the changing states of matter is not only educational, but it’s a fun-filled way to enjoy a tasty treat on before a new school year starts!


